Preface: This is the first of a two-part series on Managing Azure Subscriptions and its underlying resources.
Disclaimer: This blog post is outrightly meant for folks starting to get their hands dirty with Azure, or preparing for the Microsoft Azure Exam AZ-100, and it does not cover advanced concepts. If you’re a Microsoft-certified Azure Solution Architect, or a Microsoft Azure Most Valuable Professional, you should literally close this window now, as you wouldn’t want to be bored which might cause you to smash the lid of your PC or Mac against your keyboard. :smile:
On to the next thing,
The Very Basics of Azure Compute Engine
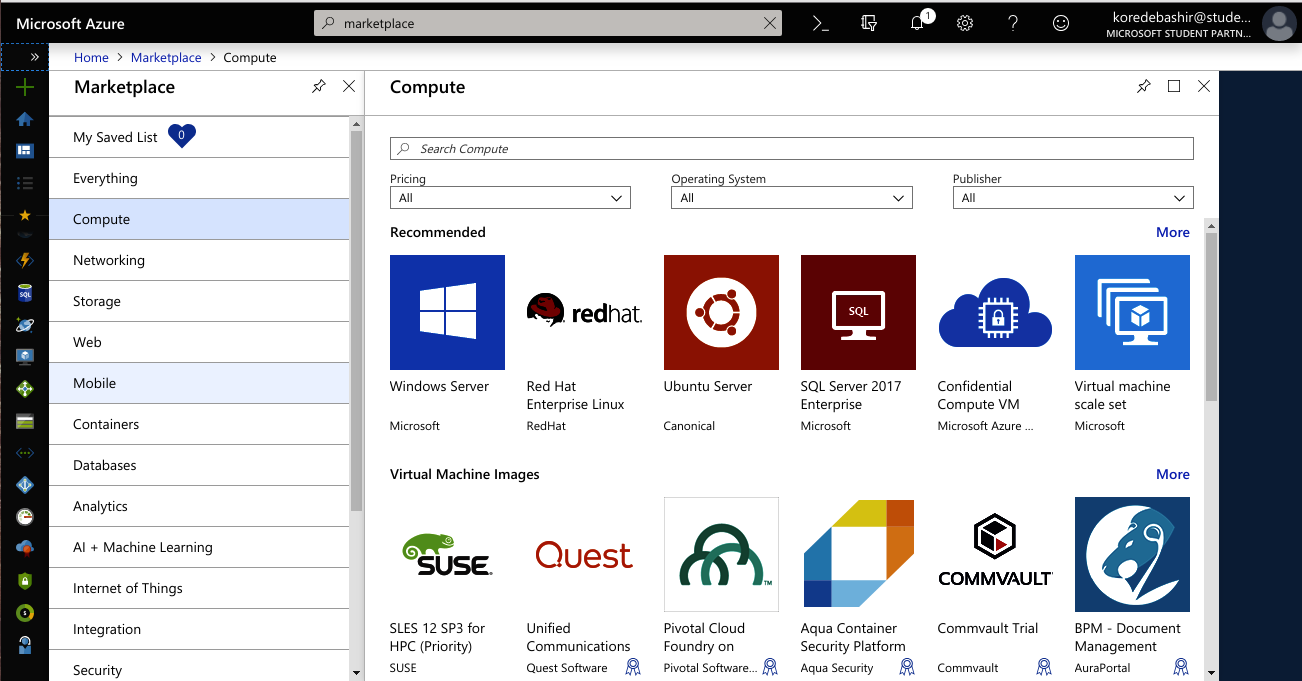
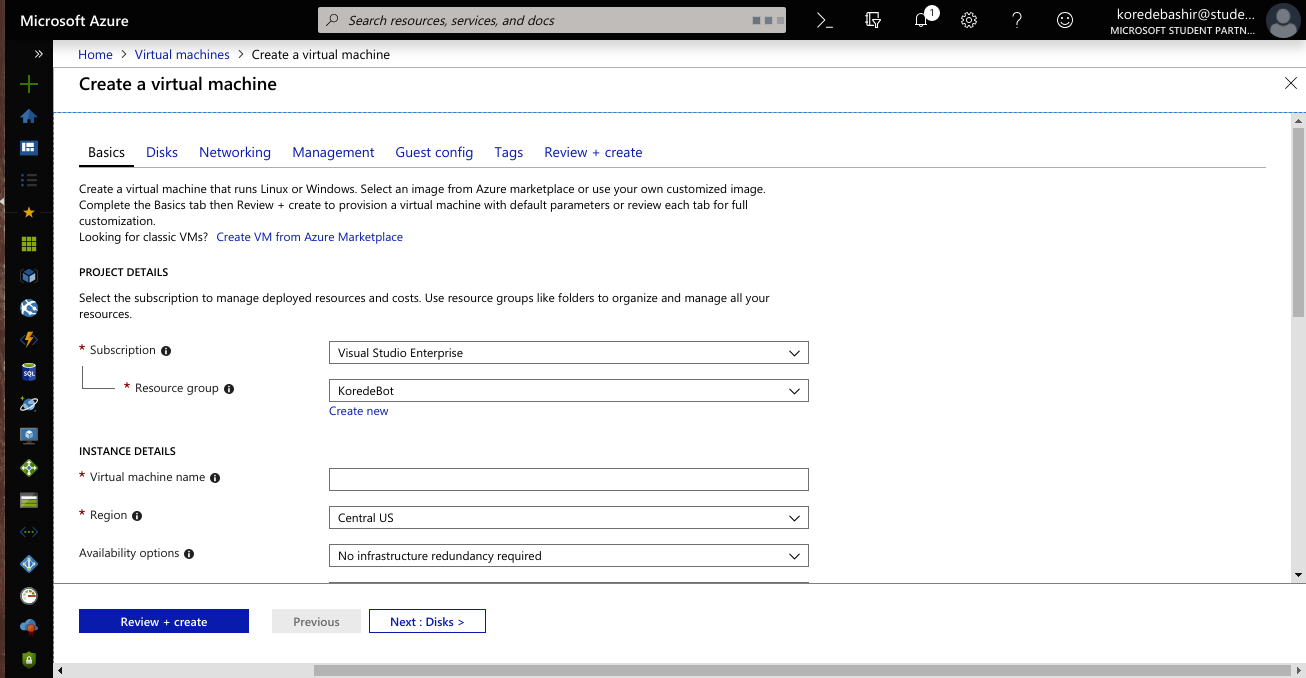
What is Azure Compute Engine? An Azure Compute Engine is a service that provides virtual machines, known as Azure Virtual Machines, that run on Microsoft Azure infrastructure. Azure Compute Engine offers scale, performance, and value that allows you to easily launch large compute clusters (VNet -Network of Virtual Machines) on Azure’s infrastructure. Azure Virtual Machines (VMs) are on-demand, scalable computing resources deployed on Azure. Virtual Machines can be deployed, on Azure, through various methods. These methods could include the user interface within the Azure portal, using pre-defined application “blueprints” found in the Azure marketplace, scripting through Azure PowerShell, deploying from a template that is defined by using a JSON file, using the Azure REST API, or deploying directly through Visual Studio (using the Azure CLI extension).

Azure uses a deployment model called the Azure Resource Manager, which defines all the resources that form part of your overall application solution, allowing you to deploy, update or delete all the resources for your solution in a single CRUD operation.
With Azure Resource Manager, you get to define the infrastructure and dependencies for your app in a single declarative template, called the ARM template, which - technically - is the JSON template that defines the many parts of the solution you are trying to deploy. This template is flexible enough to be used for all of your test, staging or production environments. If you create a solution from the Azure Marketplace, the solution will automatically include a template that you can use for your application.

Azure Virtual Machines come in different types and sizes, with names such as A-series and D-series. Each VM type is built with specific workloads or performance needs in mind, including general purpose, compute optimized, storage optimized or memory optimized. You can also deploy less common types like GPU or high performance compute VMs.
We just covered the basics of Azure Compute Engine and Virtual Machines.
Now, let us dive a little deeper into storage in Azure.
The Basics of Azure Storage Accounts
The Storage component of Windows Azure represents a durable store in the cloud. The storage can be accessed through HTTP. Windows Azure allows developers to store tables (tables are highly scalable databases and are ideal for handling large amounts of data), blobs (Binary Large OBjects - include images, videos, texts, and audios), and message queues (queues are data structures used to store data which follows the First in-First out rule).
In this chapter, we will learn how Windows Azure Storage accounts work and how they are used for storing data. There are very few similarities between a typical Windows Server and an Azure Windows VM. In Azure, the type of disk on your VM largely depends on the VM size you select.
On an Azure VM, the D: drive is temporary, it could be used for things like page files. The SYSTEM disk is deployed on the C: drive, which is about the same for how you would deploy a standard Windows Server in a dedicated server. Literally, when a VM is shut down, anything stored on that disk - in that current session - would be lost.
The number of data disks is limited to the size of the VM you selected. This is very important - together these data disks are stored as Virtual Hard Disk (VHD) files in an Azure Storage account, in Azure blob storage. They are not local to the server.
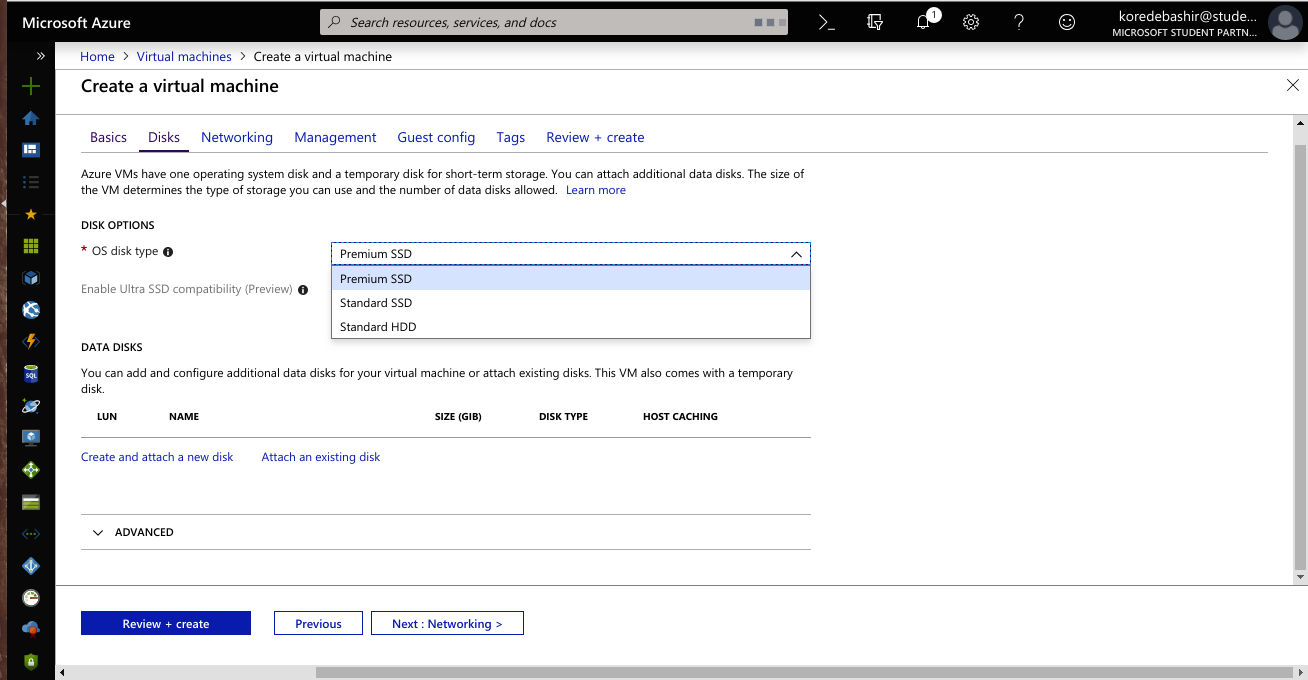
You could deploy these disks on standard storage (HDD) or on higher performing Azure Premium Storage (SSD) to get a much higher level of IOPS (Input/Output operations Per Second) . As at the time of writing, you can attach up to 32 TB of storage per VM. :ok_hand:

This model where storage is abstracted from the server is clearly very different from a typical server where storage is all local to the server’s hard drives, but it makes your configuration infinitely more scalable. Sure, you can attach SAN volumes to a dedicated server in a similar way, but the ease and scalability of doing it in Azure is unmatched.
That. Is. It.
We’ve come to the end of the first part of this introductory blog post on deploying, managing and monitoring an Azure VM and how it is different from a dedicated server.
In this part, I did scratch the surface of the Azure technology as the sole goal of this crash course is to be as comprehensive as it ever could be. I am very enthusiastic about the Azure Compute Engine, and I’d like to point fellow enthusiasts to other great resources — curated by engineers that are more qualified than I am on this subject topic — in order to learn more (check here, here, and here).